

Draw your venue's tables, rooms and layout so staff can see live availability at a glance - and add more floors as your venue grows.
Steps
-
Go to Settings, then "Floor Plan Editor".
-
-
Open "Create Rooms" and draw a room outline first - any tables you place inside it are automatically grouped into that room, so you can filter by area later.
-
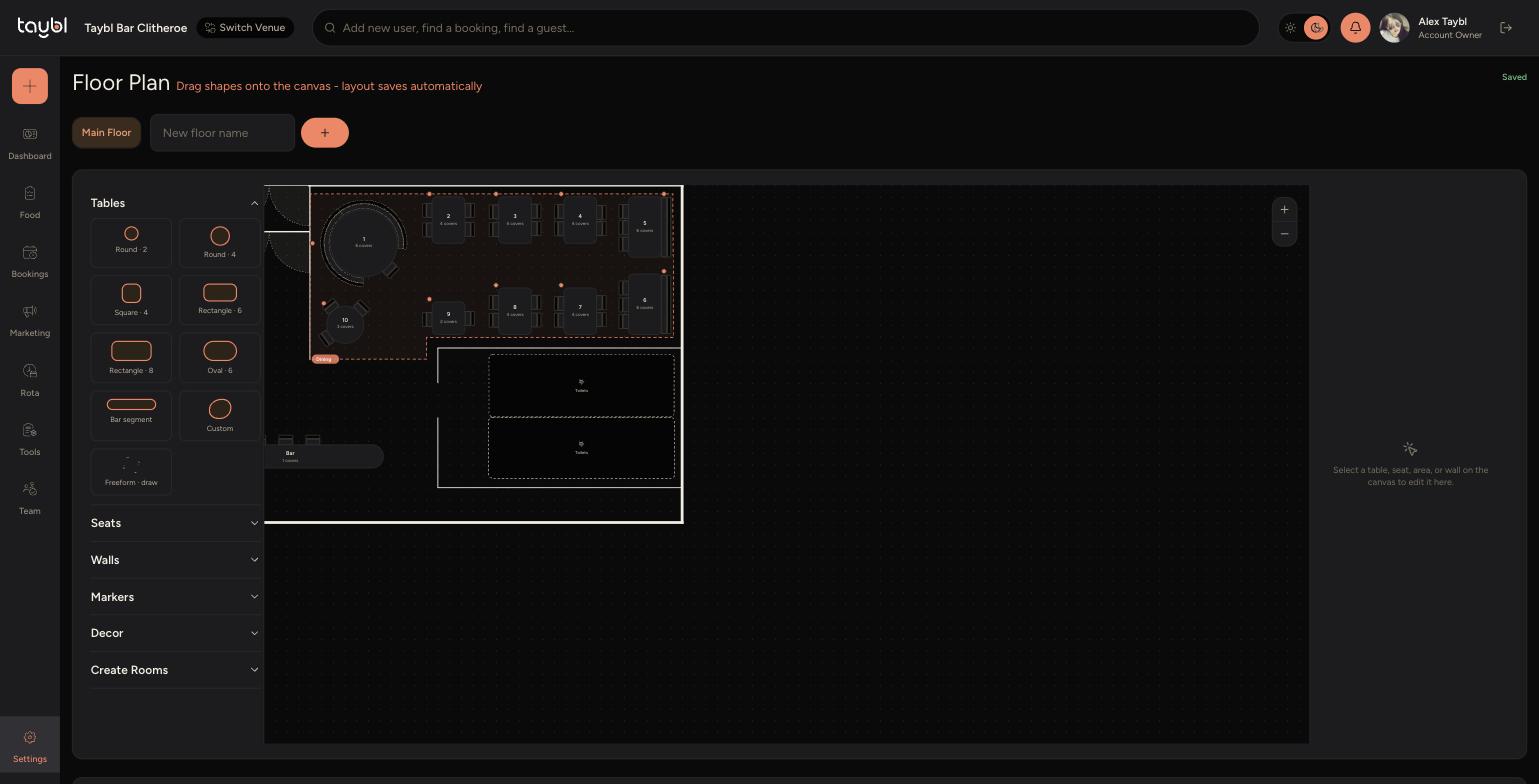
Open "Tables" and drag a shape onto the canvas - round, square, rectangle, oval, a bar segment, or a custom freeform shape you draw yourself.
-
Click a table to set its name, seat count and area from the panel on the right. Open "Seats" if you need to add or reposition individual seats around it.
-
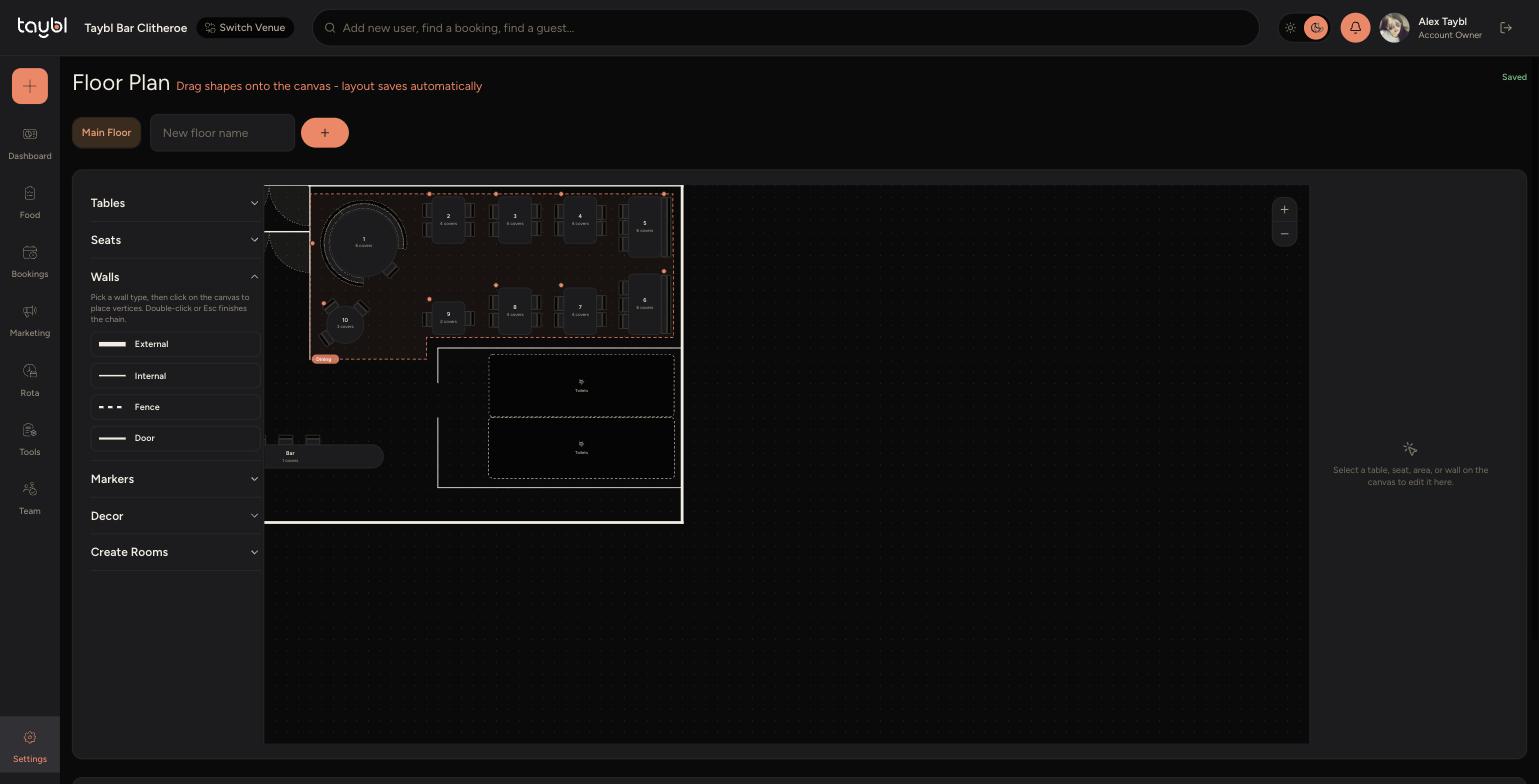
Open "Walls" to draw External, Internal, Fence or Door lines - pick a type, then click on the canvas to place each vertex, and double-click or press Esc to finish the chain.
-
Open "Markers" or "Decor" to drop in reference points like a bar, host stand or plants, and use "Join Rules" to shift-click two tables to join them into one bookable unit for larger parties.
-
Click the "+" next to the floor tabs at the top and give it a name to add another floor - useful for venues with multiple levels or an outdoor area.